
What to Consider When Installing a Ceiling Exhaust Fan
What to Consider When Installing a Ceiling Exhaust Fan
Ceiling exhaust fans are an essential part of maintaining a healthy and comfortable indoor environment.
They remove stale air, odours, humidity, and excess heat from kitchens, bathrooms, laundries, and other areas prone to moisture or poor ventilation. A well-chosen and properly installed ceiling exhaust fan not only improves air quality but can also help prevent structural damage caused by dampness and mould.
However, not all fans are created equal, and installation isn’t a simple one-size-fits-all job. The right choice and setup depend on factors like room size, airflow needs, noise levels, and compliance with local building codes.
This guide will walk you through everything you should consider before and during installation so you end up with a system that works efficiently, quietly, and safely.
Understand the Purpose of the Exhaust Fan
Before buying a ceiling exhaust fan, it’s important to understand why you need it and what it needs to achieve.
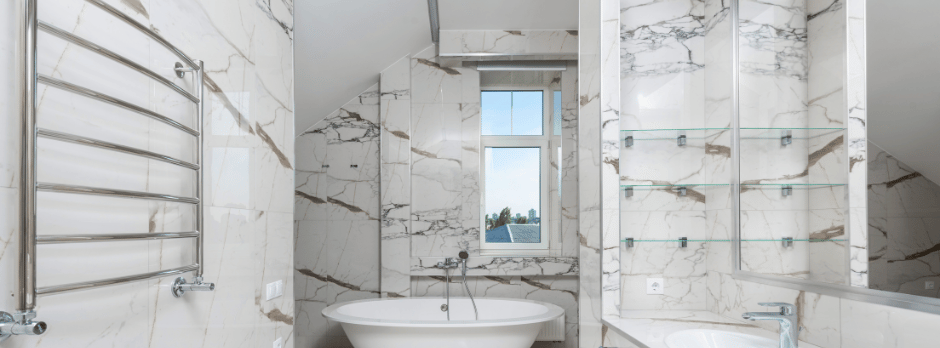
- Moisture control – Bathrooms and laundries produce high humidity, which can lead to mould, peeling paint, and damaged plaster if not properly vented.
- Odour removal – Kitchens, toilets, and certain work areas benefit from quick odour extraction.
- Heat removal – Exhaust fans can help reduce heat build-up in spaces like roof cavities or enclosed sunrooms.
- Air exchange – In rooms without natural ventilation, exhaust fans are essential for maintaining fresh air quality.
Defining the main purpose will help you choose the right fan type and capacity.
Measure the Room and Determine Required Airflow
Ceiling exhaust fans are rated by airflow capacity, measured in cubic metres per hour (m³/h) or litres per second (L/s).
The size of your room directly impacts how powerful your fan should be.
General guidelines:
- Bathrooms – Aim for 15–25 air changes per hour.
- Kitchens – Higher capacity needed, around 20–30 air changes per hour.
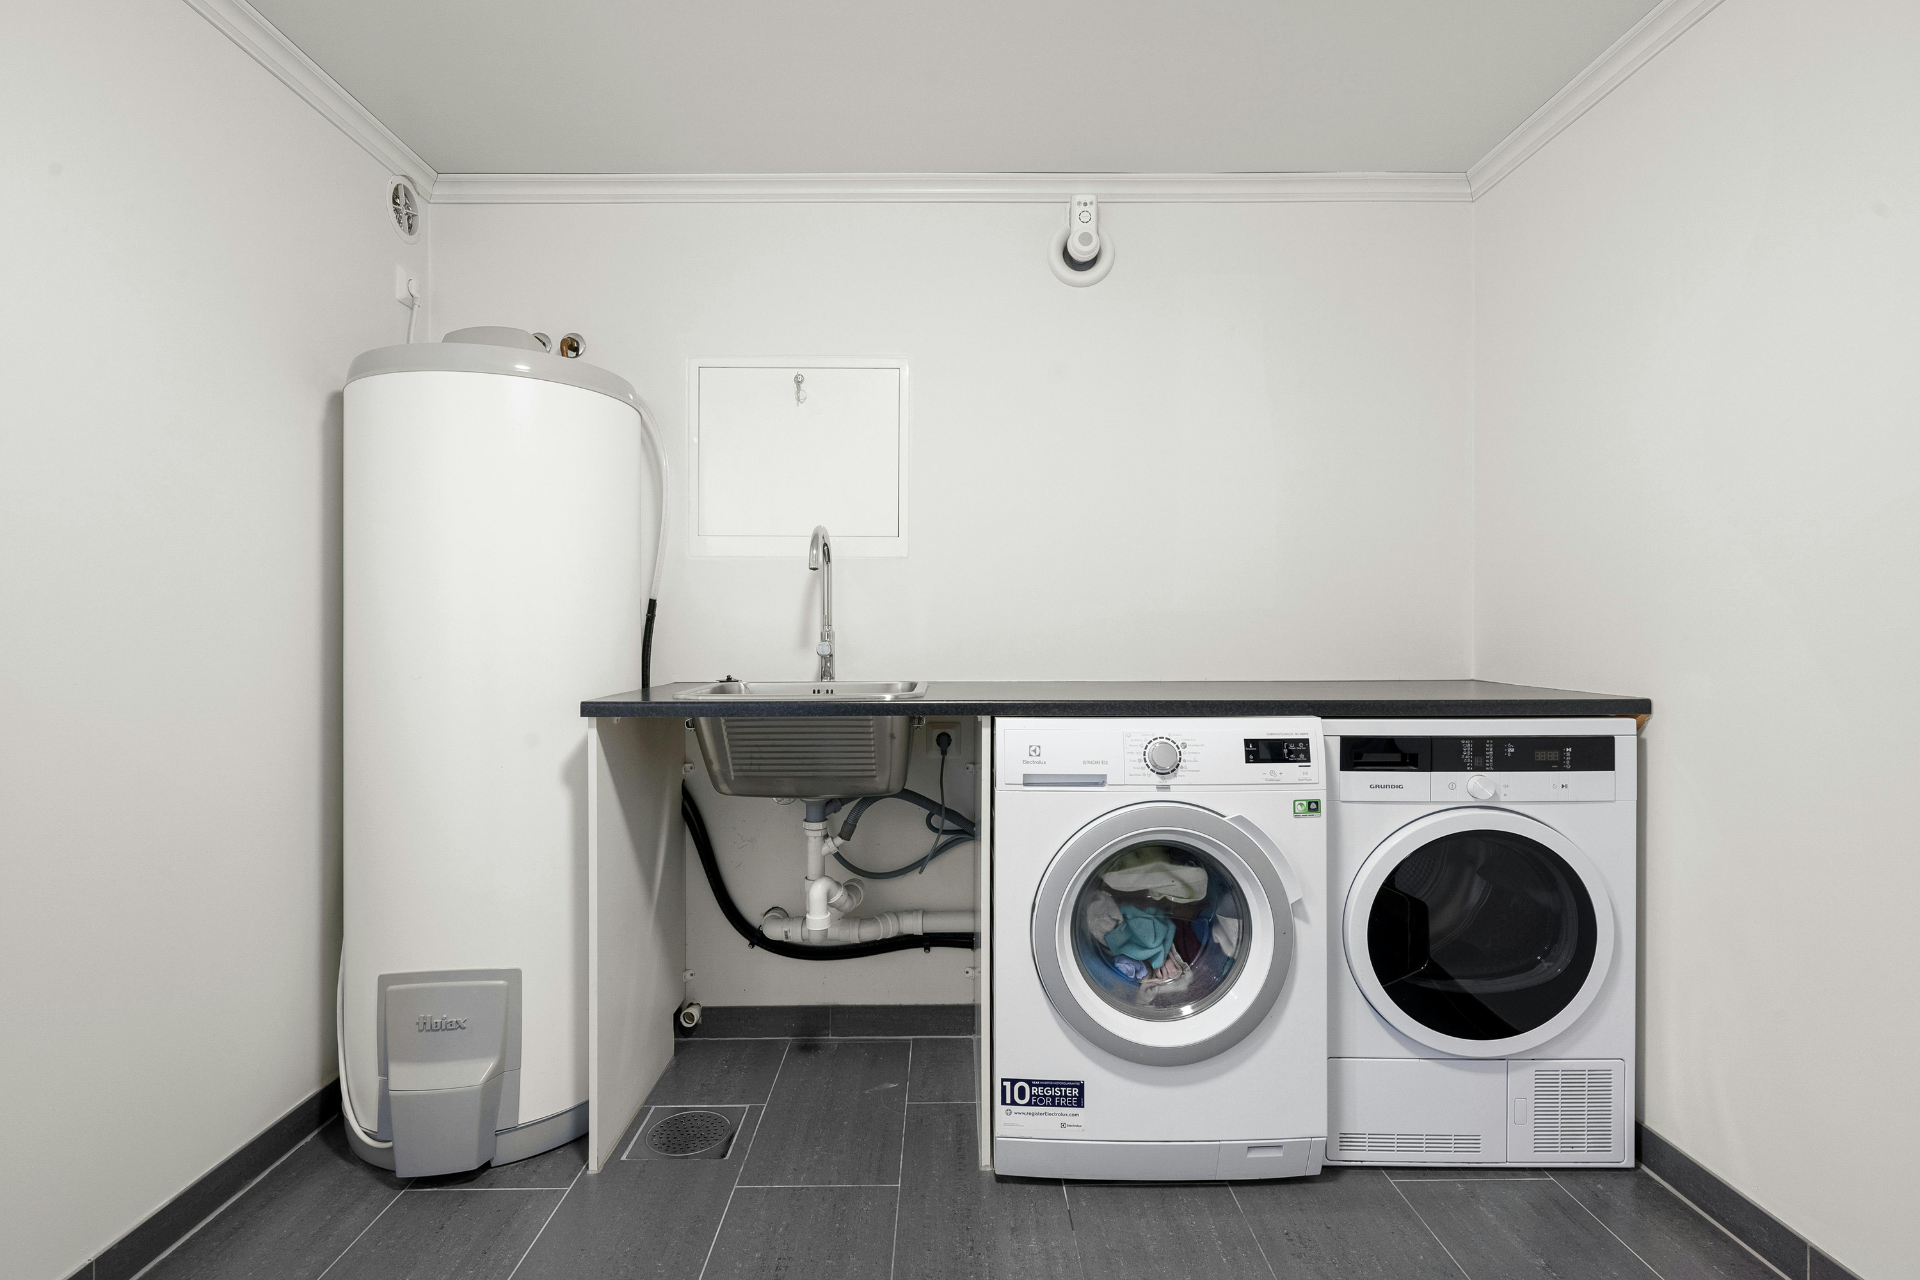
- Laundries – 15–20 air changes per hour.
How to calculate the fan size:
- Measure your room’s length × width × height to find the volume (m³).
- Multiply by the recommended air changes per hour for that room type.
- The result is the airflow capacity you need.
Example:
A 3m × 2.5m × 2.4m bathroom has a volume of 18 m³.
If you need 20 air changes per hour:
18 × 20 = 360 m³/h fan capacity required.
Choose the Right Type of Exhaust Fan
There are several ceiling exhaust fan types, each suited for different installation scenarios.
A. Ceiling-Mounted with Direct Venting
- Vents straight from the fan unit through the ceiling to the outside (via a roof vent or external wall).
- Best for rooms directly below the roof.
B. In-Line Fans
- Installed in the roof cavity with ducting to both the room and the outside vent.
- Ideal when noise reduction is a priority or for long duct runs.
C. Ceiling-Mounted with Window or Wall Vent
- Uses ducting to vent through a nearby wall or window if roof venting isn’t possible.
Tip: Always ensure your fan vents outside, not just into the roof cavity, to prevent condensation and mould growth.
Check the Ducting and Venting Path
Even the most powerful fan will underperform if the ducting is poorly designed.
Consider:
- Shortest path – The shorter and straighter the duct, the better the airflow.
- Duct size – Match the duct size to the fan outlet for maximum efficiency.
- Insulated ducting – Prevents condensation in cold climates.
- Weatherproof vent covers – Keeps rain, pests, and debris out.
Noise Levels
Noise can be a major factor, especially in bedrooms or living areas.
Fan noise is measured in decibels (dB).
- Quiet operation – Look for models under 40dB for bathrooms and bedrooms.
- Kitchen/laundry – Can tolerate slightly louder fans, but under 50dB is still ideal.
- In-line fans are often quieter because the motor is located away from the room.
Energy Efficiency
An energy-efficient exhaust fan can save you money on power bills and reduce environmental impact.
Look for:
- High airflow-to-power ratio – More air movement for less wattage.
- Timer controls – Fan runs only as long as needed.
- Humidity sensors – Automatically switch on when moisture levels rise.
Electrical Safety and Regulations
In Australia, all ceiling exhaust fan installations involving electrical wiring must be carried out by a licensed electrician.
Important considerations:
- AS/NZS 3000 Wiring Rules compliance.
- Proper RCD (safety switch) protection.
- Correct positioning relative to water sources to meet IP (Ingress Protection) ratings.
For bathrooms:
- Zone 1 (inside shower or bath): Special low-voltage fans with IPX4 or higher.
- Zone 2 (outside splash zone but within 600mm of shower/bath): IPX4 minimum.
- Zone 3 (further away): Less stringent, but IPX2 is recommended.
Placement in the Ceiling
Where you place the fan is just as important as the fan you choose.
- Bathrooms – Position near the shower or bath for maximum moisture extraction.
- Kitchens – Place above the main cooking area, but consider a rangehood for more direct steam removal.
- Laundries – Install centrally to capture steam from appliances.
Avoid placing the fan too close to doors or windows, as fresh air coming in can disrupt airflow efficiency.
Additional Features to Consider
Modern exhaust fans can come with extra features:
- Built-in LED lighting – Useful for bathrooms or kitchens.
- Heat lamps – Combine ventilation with instant warmth.
- Reverse cycle – Some fans can also circulate warm air in winter.
Moisture and Mould Prevention
Without proper exhaust, steam condenses on ceilings and walls, leading to mould growth.
To maximise mould prevention:
- Run the fan for at least 10–15 minutes after showering or cooking.
- Consider a fan with a run-on timer to keep it going automatically.
- Clean the fan and ducts regularly to prevent build-up.
Budget and Quality
While it’s tempting to go for the cheapest option, lower-quality fans can be noisy, underpowered, and short-lived.
Balance cost with:
- Warranty length – 3–5 years is ideal.
- Brand reputation – Established brands often have better performance and spare parts availability.
- Build quality – Look for durable housing and motor components.
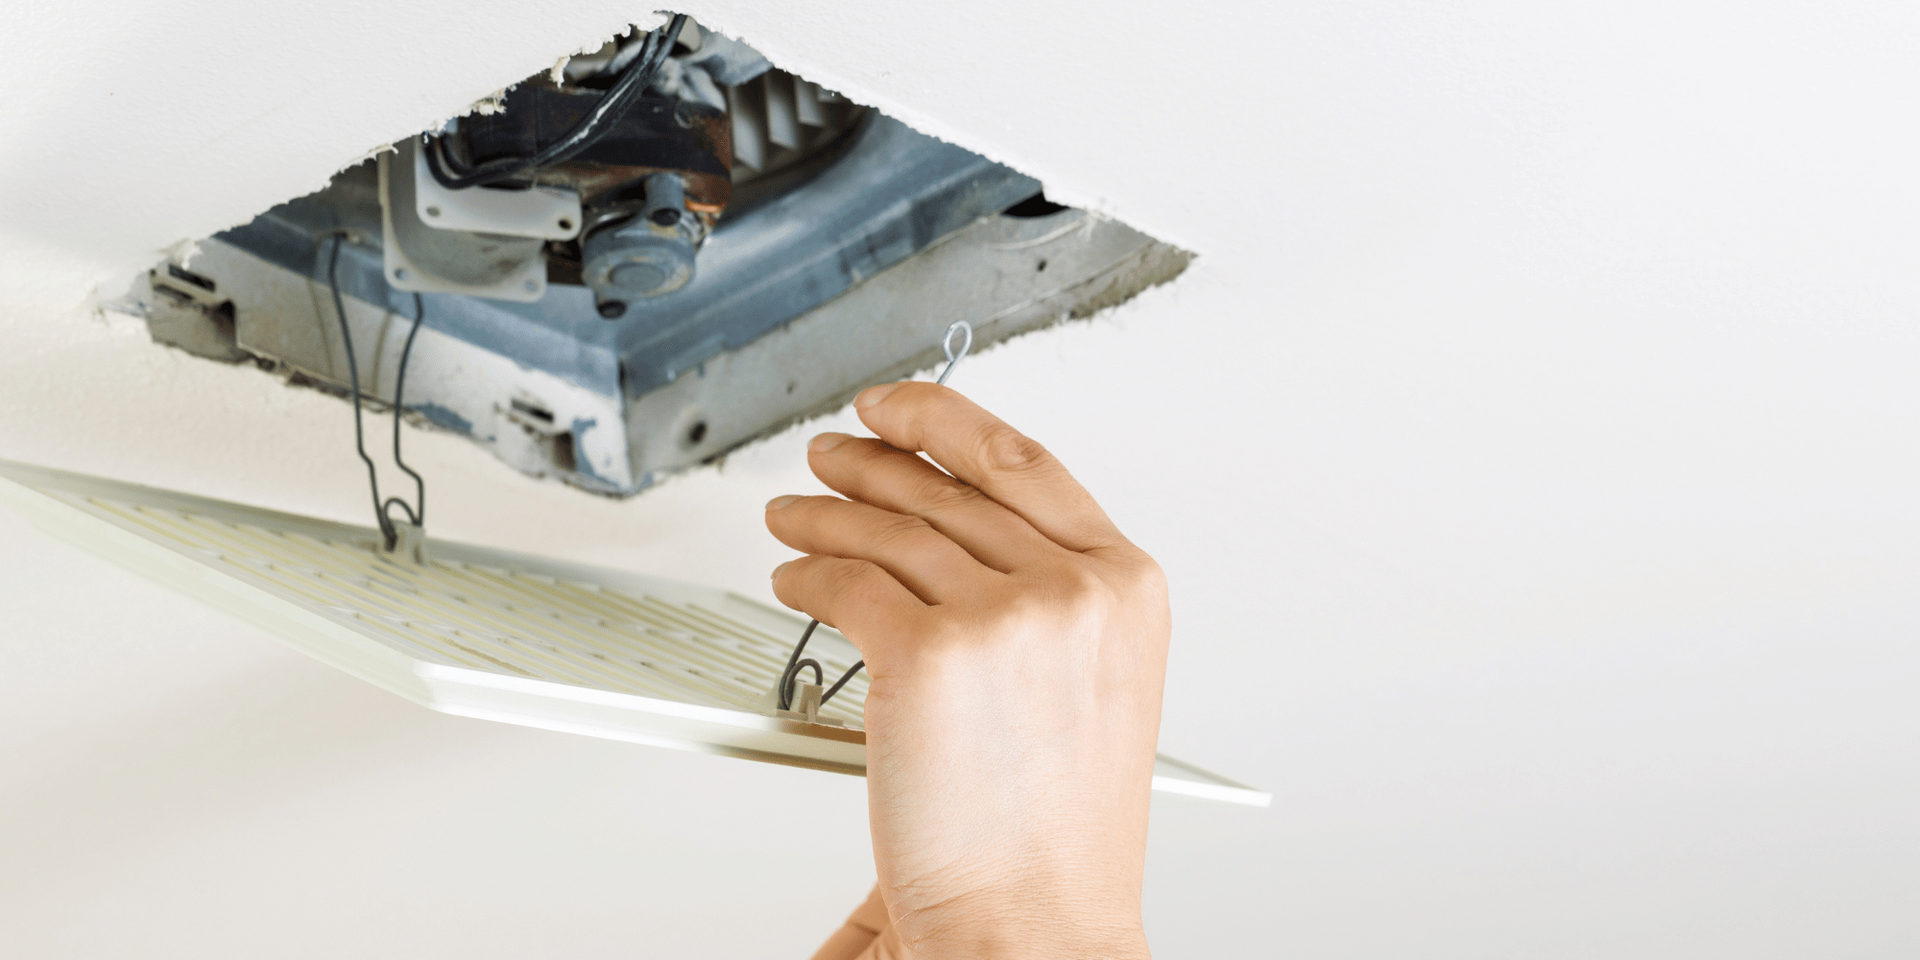
Installation Process Overview
While only a licensed electrician can perform the actual wiring, here’s the general process:
- Site assessment – Determine the best fan type, placement, and venting route.
- Cutting the ceiling hole – Sized to match the fan model.
- Duct installation – Connecting fan to external vent.
- Wiring – Connecting fan to power source and switches/timers.
- Testing – Ensuring proper airflow and safe operation.
- Sealing – Preventing air leaks and securing the fan.
Maintenance After Installation
To keep your exhaust fan efficient:
- Clean the grille every 3–6 months.
- Check ducting annually for blockages or damage.
- Replace worn parts like bearings or filters if your fan has them.
Common Mistakes to Avoid
- Venting into the roof cavity – Causes condensation and structural damage.
- Undersizing the fan – Results in poor airflow and ineffective moisture control.
- Ignoring noise levels – Can make the fan unpleasant to use.
- Long, uninsulated duct runs – Reduce efficiency and encourage mould.
A ceiling exhaust fan is more than just a household accessory—it’s a vital part of keeping your home healthy, safe, and comfortable.
By considering airflow requirements, installation location, noise levels, energy efficiency, and proper ducting, you can ensure your fan does its job effectively for years to come.
And remember—while you can do the planning yourself, always hire a licensed electrician for installation to ensure safety and compliance.